Staying Healthy during lockdown
Posted on January 20th, 2021 by Andries Lodder
As we are all very aware, 2020 and the start of 2021 has been nothing next to normal and COVID-19 pandemic has tuned a lot of peoples’ worlds upside down.
We as BIOKINETICISTS are involved in helping people improve certain aspects of their lives.
These areas include:
- overcoming and preventing injuries
- managing chronic conditions and illness
- maintaining and improving fitness
- weight management
- general well-being and now COVID-19 prevention through physcial activity
It is something new to us and we are tackling it head on to try and keep a healthy and positive population.

Exercise can help assist in a variety of immune functions. For the body to function optimally, its vital organs need to be working in pristine condition.
Guidelines for exercise during COVID-19
Exercising is one of the only things we can physically take charge of to try and prevent contracting COVID-19 or to help our bodies fight the disease.
Remembering that caution should be taken when exercising not to over-do it and compromise the immune system further.
- 150+ minutes of moderate intensity exercise, and 75+ minutes of vigorous intensity exercise a week.
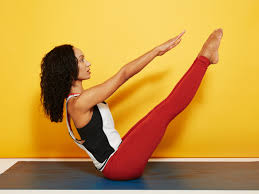
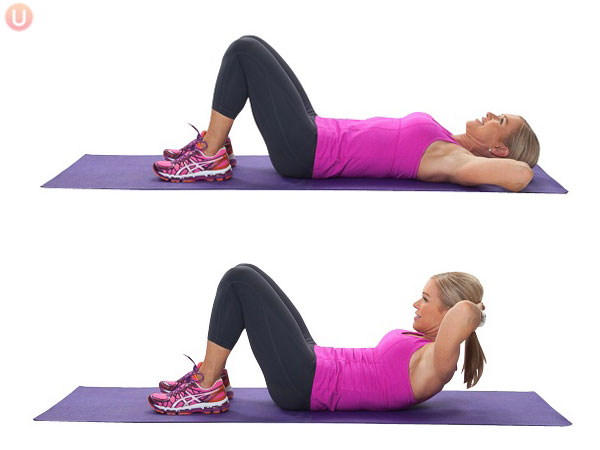
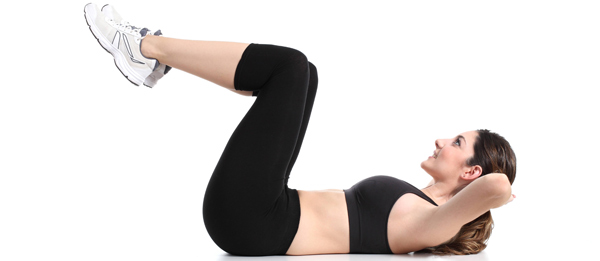
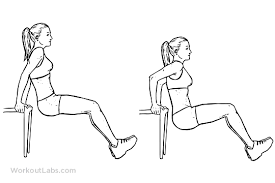
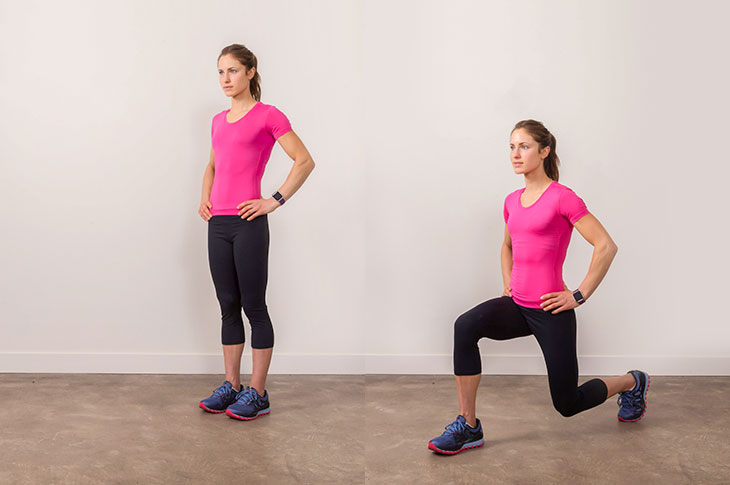
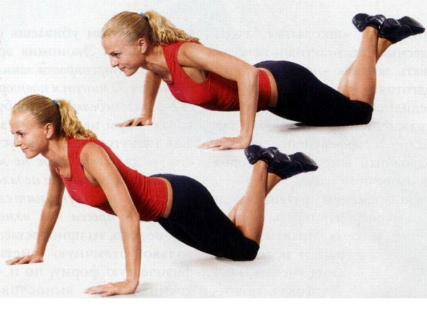
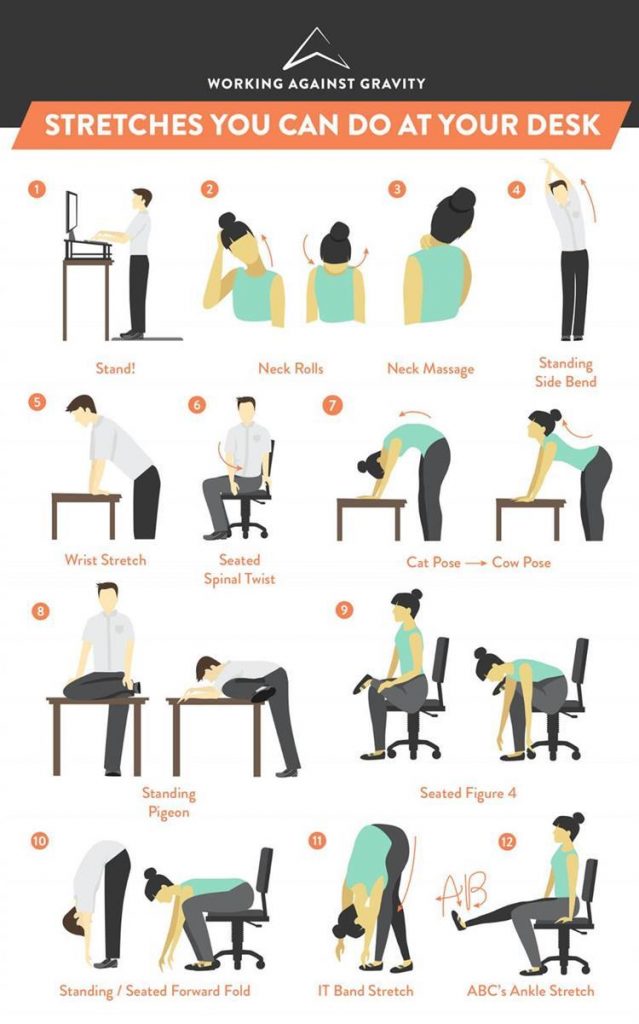
- 2-3 strength and resistance training sessions should be included, as well as 2-3 flexibility sessions
- aim to do 5000-10000 steps per day
How does exercise help the immune system?
The human heart is the bodies centre of life and without it working optimally the bodies condition will begin to deteriorate.
- As the blood circulates around the body, it is responsible for supplying oxygen and nutrients to the tissues as well as removing carbon dioxide and waste products from the body.
- Just like any other muscle, exercise can increase the efficiency of the heart, strengthening the force of the hearts muscular contractions and inevitably increasing the perfusion of the tissues and organs with blood.
- Increased blood flow around the body improves the body’s oxygen levels, reducing the risk of heart related diseases and creating a better environment around the body as a whole.
Not only does exercise improve your bodies immune system protecting you from everyday viruses and bacteria, but its benefits also extend across a variety of medical conditions and chronic diseases.
If you have had COVID-19 and are looking to get back into exercise, it is highly recommended to do so carefully and with supervision.
Many individuals are struggling with their hearts after having COVID-19 and having someone there who understand the human body and exercising parameters is highly beneficial.

For those wanting to try stay fit and healthy, contact us now for help and guidance.